“Sugar Free” Peanut Butter Cookies!

I love cookies but for some reason sugar doesn’t like me so I try to substitute cane sugar for various other sweeteners.
Such as:

Apple Puree
Organic Maple Syrup
or
Honey.

Amazingly enough honey doesn’t harm me a bit which is great because every now and then a girl needs to have a little sweet tooth.
I also tend to cook with Gluten Free Flours and Dairy Free or Lactose Free dairy varieties just to make sure my tummy digests everything normally.

Generally i don’t bother with any sweets but i just had this hankering for some homemade cookies so i set to work and this is what i came up with.

PeanutCookieIngredients

Using…
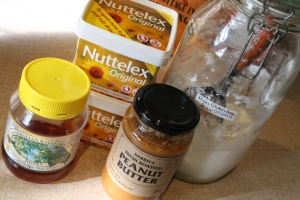
4 Tablespoons of Honey
4 Tablespoons on Dairy Free Peanut Butter (I used a natural crunchy variety)
2/3 Cup of Dairy Free Margarine (i always use Nuttelex)
and
just over 2/3 Cup of Flour (you may need to add more when you are mixing together)

Preheat oven at 180C.

In a small pot place Butter, Honey and Peanut Butter in and dissolve and heat through.
Once your mixture has become runny take off heat.
(My mixture was not completely smooth because I used Crunchy Peanut Butter rather than smooth)

Meanwhile in a Bowl (I used my mixture to prepare this) sift flour then add heated mixture and stir thoroughly.
Like I mentioned before you may need to add a touch more flour depending how your heated mixture melts down.

I allowed the mixture to cool for a few minutes while i was cleaning up  because it has just come off the heat so remember its going to be hot!  Don’t place in the fridge to cool just leave it on the bench to cool a little just so you don’t burn your fingers.

Once cool enough to touch,
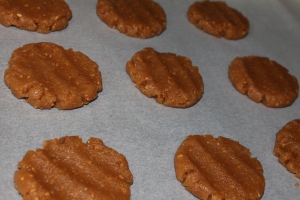
Roll into small balls and press onto a lined cookie tray
(I use a heavy base Cookie sheet to make sure the bottoms don’t burn and the cookies cook evenly)

PeanutCookies3

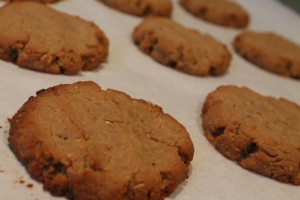
Place cookies in the oven for 10 minutes or until golden.

Once cooked i slide the grease proof paper off the tray to allow the cookies to cool on a cooler surface.
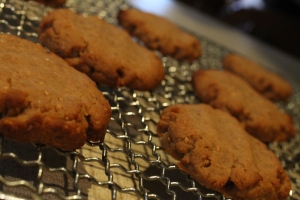
If you move the cookies too soon they will be to soft and they will break apart so please allow them to harden before placing on a cooling rack.

PeanutCookies4

The result is yummy good for sensitive tummies cookies!

PeanutCookies6

I tend to stick with natural sweeteners when i am wanting something naughty you just don’t know what all those artificial and other plant derived sweeteners are going to do to you system.
Always research all sweeteners before using them on you or your family you don’t want to place them at risk.

Have a Blessed day and happy baking!! xx
Chocolate Coated Strawberries and Cream!

These are my Dad’s absolute favourite!!!
But they are not available anywhere!
But they are super easy to make and taste amazing!!

All you will need is:
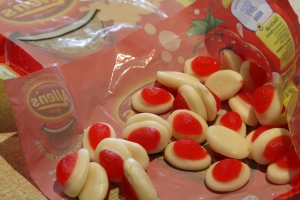
A packet of Allens Strawberries and Cream lollies,
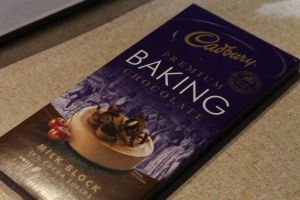
A couple of blocks of chocolate (i used Cadbury Cooking Milk Chocolate,
A spiral chocolate dipping tool,
A lined tray,
and a bowl.

IMG_4724      IMG_4720

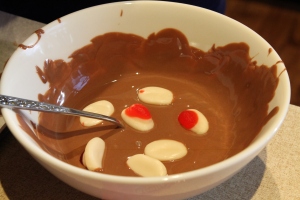
Melt the chocolate in the microwave or one the stove whatever you prefer.

IMG_4719

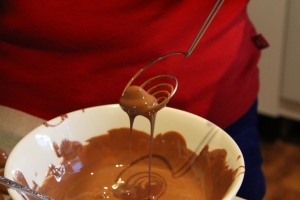
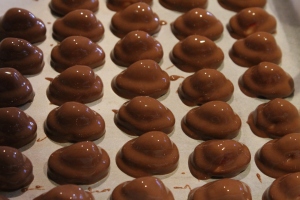
Place the Strawberries and Creams in the chocolate and using your Spiraled dipping spoon pick up one Strawberry and Cream at a time

IMG_4722

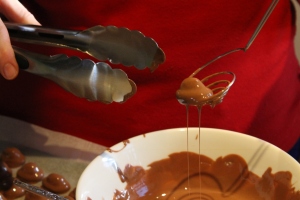
Allow the chocolate to drain off until it has an even covering left over the Strawberry and Cream.

IMG_4723
I find it easier to use a pair of tongs to lift the coated Strawberry over to the tray but use what ever you find helpful.

IMG_4721
Place on the tray and place in the fridge to set.
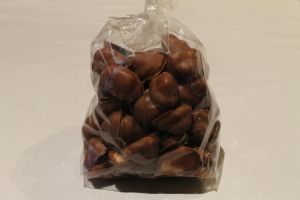
Once they have set peel off the greaseproof paper and bag in lolly bags.

IMG_4729

Normally i decorate with a pretty bow but ran out of time hiding them from Dad for his birthday.
They really are so simple and so yummy.
Guaranteed to be a crowd pleaser.

My Sick On The Couch Project…

So lucky me i’ve been out of action the last week i had a throat/chest bug not nice at all, so i was banished to the couch for the week.
The first day i was set i had my Macbook next to me and i was loaded up with Tea and Soup watching videos on YouTube by the “Missouri Star Quilt Co.” (Have to say Jenny is amazing) and videos by “Riley Blake Fabrics” I was having a grand old time.
Day two….. Set up with my Macbook started with the videos, grew bored.
Then started googling and found some amazing blogs.
Whilst Googling i found a blog by Mother/Daughter team Lisa and Sarah Cox from Perth their blog is called “A Spoonful of Sugar”, They are amazing. But i stumbled upon a Needlebook that they made and gave me some inspiration.
So off i trotted to  my scarps and here’s were the fun begins!

Needlebook12

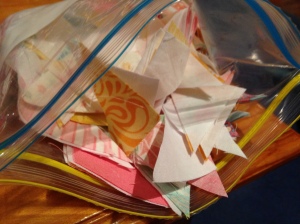
I had a whole bag full of small triangles left over from a quilt that i am making and they are all the same size so there was no preparation work needed.
This is a perfect scrap buster project!!

Needlebook11

I joined together 24 different triangles to make 12 squares.
I joined on coloured triangle to a solid white triangle.
Then i hand sewed them all together, which took ages but filled up a day!

Once i finished hand sewing all my triangles together i then set the seams (which meant me getting off the couch to iron).
So off i toddled to the iron made all my squares pretty and toddled back to the couch!
Now i had all these pretty squares how was i going to arrange them….. Pinwheel??….No…. Diamonds?……No!

Hmmmmmmmm….. I know Chevron!!
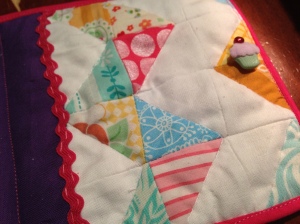
So i arranged them in a Chevron zig-zaged pattern which looks awesome!! (i think i might make a full quilt like this next )
Next was hand sewing all the squares together to create my Chevron.

Needlebook14

(Please forgive the photos, keep in mind i was sick! hehe)

TaaDaa! Hand sewing done……for now!

Back to the iron to set my seams (woddle woddle woddle!)
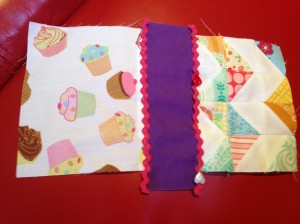
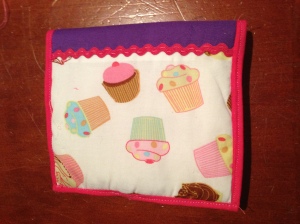
Once i had this section done i was racking my brain to think of what other scrap material was lying around, in comes the cupcakes and purple fabric!
Using my rotary cutter and cutting mat i cut out the back piece using the cupcake fabric to the exact size as the front (mine was about 4″ x 6″)

For the spine piece again i had a precut piece leftover from a previous quilt that was a perfect size (approx 1.5″ closer to 2″)
I then hand sewed the spine to the front piece then to the back piece (as above)

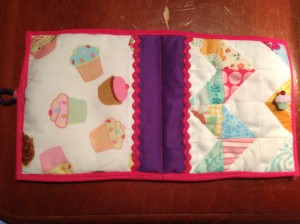
Then i touch of girly was needed so i found some leftover ric rac and sewed it over the seams of the spine.

I used quiet a large hand stitch to get a patterned effect in each wave of the ric rac. I used a slightly lighter pink for a contrast.

Next i cut a piece of batting and another piece of the cupcake fabric to the size the cover.
Then i pinned it all together and hand quilted along the zig zag pattern of my Chevron.

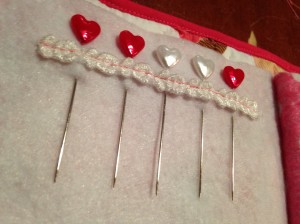
Once i was happy with the cover i went off and found a metallic hair tie to use as a fastener to hold my needlebook together.
I pinned it in place on the back of the book in between the batting and the inside fabric…..and this is where healthy Holly steps in!!

Now i’m feeling better i’m all like hand sewing seriously what was i thinking???
Out comes the sewing machine!!

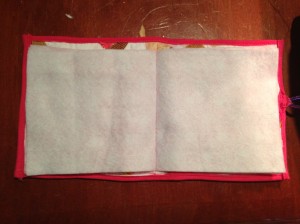
So i sewed the hair tie in place then grabbed out some bias binding (pink of course)
I edged the book completely and sewed is together with my trusty sidekick my sewing machine and boy was that so much quicker!

Needlebook3

Needlebook2
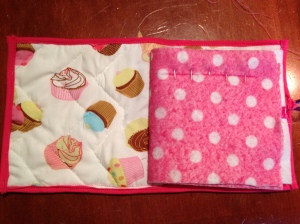
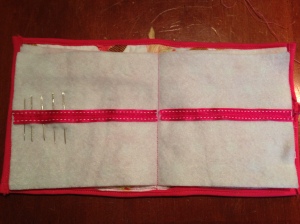
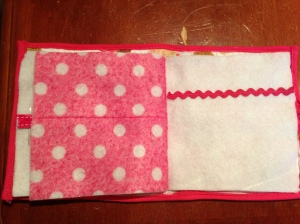
Next i grabbed some felt (other people use batting for this but i’m a little stingy)
I cut two pieces to just a bit smaller than the cover size, laid them on top of each other and sewed down the middle to join them to the cover.
I used pink cotton on mine only because i wanted some contrast against the purple spine.

Needlebook6

Next to personlise the pages a little!
I used some lace border, ribbon and ric rac on mine…

Needlebook1
Needlebook5

Needlebook9Add a button to the front and we are done!!
image

Needlebook8
No matter where life places you… the couch… in bed… in the doghouse!!
There is always a way to create!

Have a Blessed day and create! xo

A simple but effective way to fill a photo wall…

IMG_4628IMG_4636


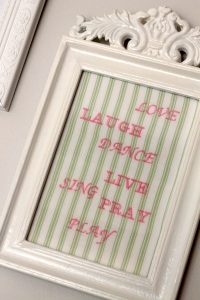
My Parents home is decked out in a shabby chic theme and in their room they have a photo wall with childhood photos and some photos of them together but it just needed a little something to top of the wall
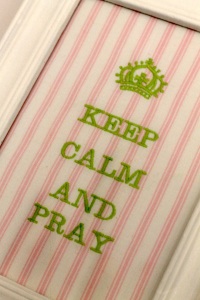
So we had this idea to create our own inspirational pictures.

So using two fat quarters, that we bought from “Itchin’ for Stitchin” on Grant Street in Bacchus Marsh,
I embroidered using my Brother embroidery machine the iconic “Keep Calm” quote with a difference and on the other words for a happy home. Then edge and hem the material to prevent fraying and sew back to a frames backing board and insert into your desired frame.

The result is amazing it brings the wall to life and adds some character to the already cheerful photos.

Over all the project took an hour or so, most of the time is waiting for the embroidery machine to work its magic!

Also very cheap for people on a budget!